I bought a Sun Patch for my Sun Shelf - which I use to grow my sensitive orchids and other tropical plants in a more protected environment. It is very easy to set up and use and my plants love it. Very good idea, my husband keeps bugging me to buy more of them.
Great to hear Astrid, we are so happy that you love our product
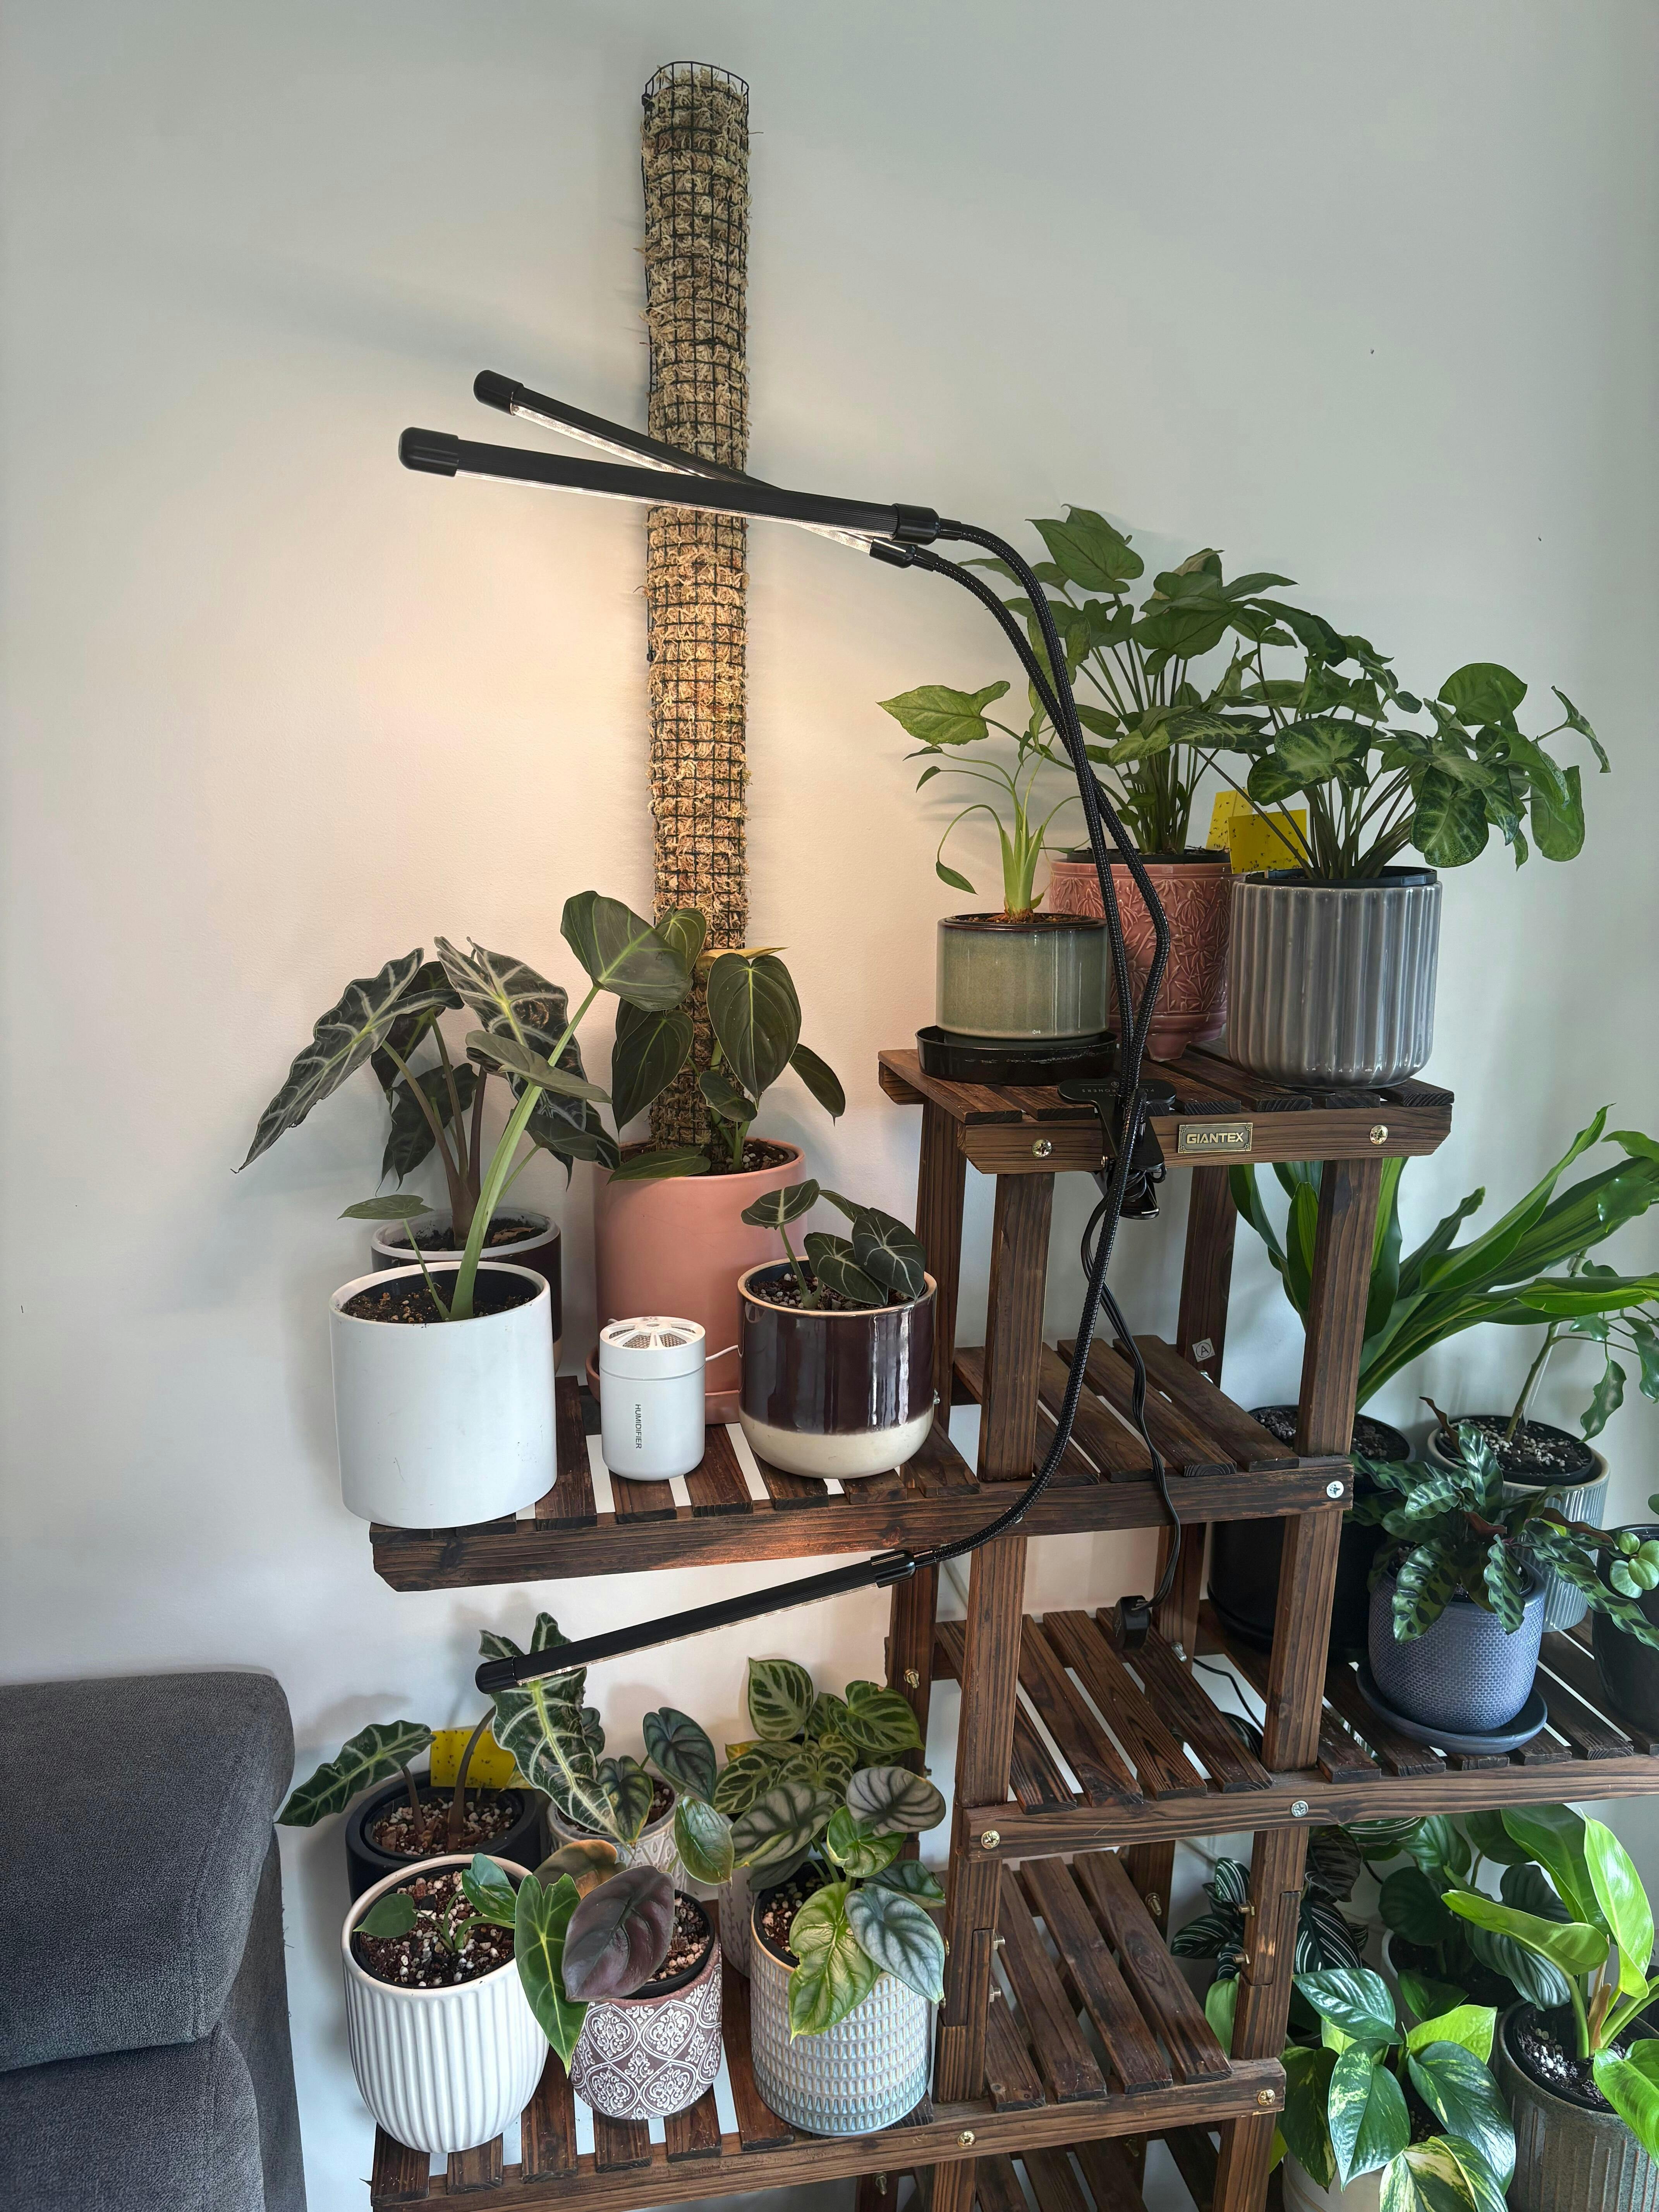
Really impressed with the product so far. Great quality and hopefully I’ll start seeing results with my plant collection. I chose this product over similar others due to its design and adjustability. As it’s my first grow light I really took a gamble, but so far I’m very happy.
The only thing I was disappointed with was the small screwdriver that came with the product to adjust the ‘yaw’ (side to side rotation) instantly broke. The plastic handle came loose from the metal screwdriver pole making it useless and unable to tighten the screw.
Also the wall plugs were impossible to push into the 6mm hole without bending them, once the screws were in, they felt like they had no grip and were going to rip out with the weight of the light. Thankfully I used my own 6mm wall plugs which fit perfectly and feel strong.
Hi there! We're so glad to hear that you're impressed with the product and are seeing great quality results with your plant collection. We apologize for the disappointment with the small screwdriver and wall plugs included in the package. We don't put much cost into the screwdriver as we assume most people already have one, but we will definitely take your feedback into consideration for future improvements. As for the wall plugs, this is the first time we've heard of any issues, but we appreciate your feedback and will look into providing better wall plugs in our next batch. Thanks again for your support and happy growing!
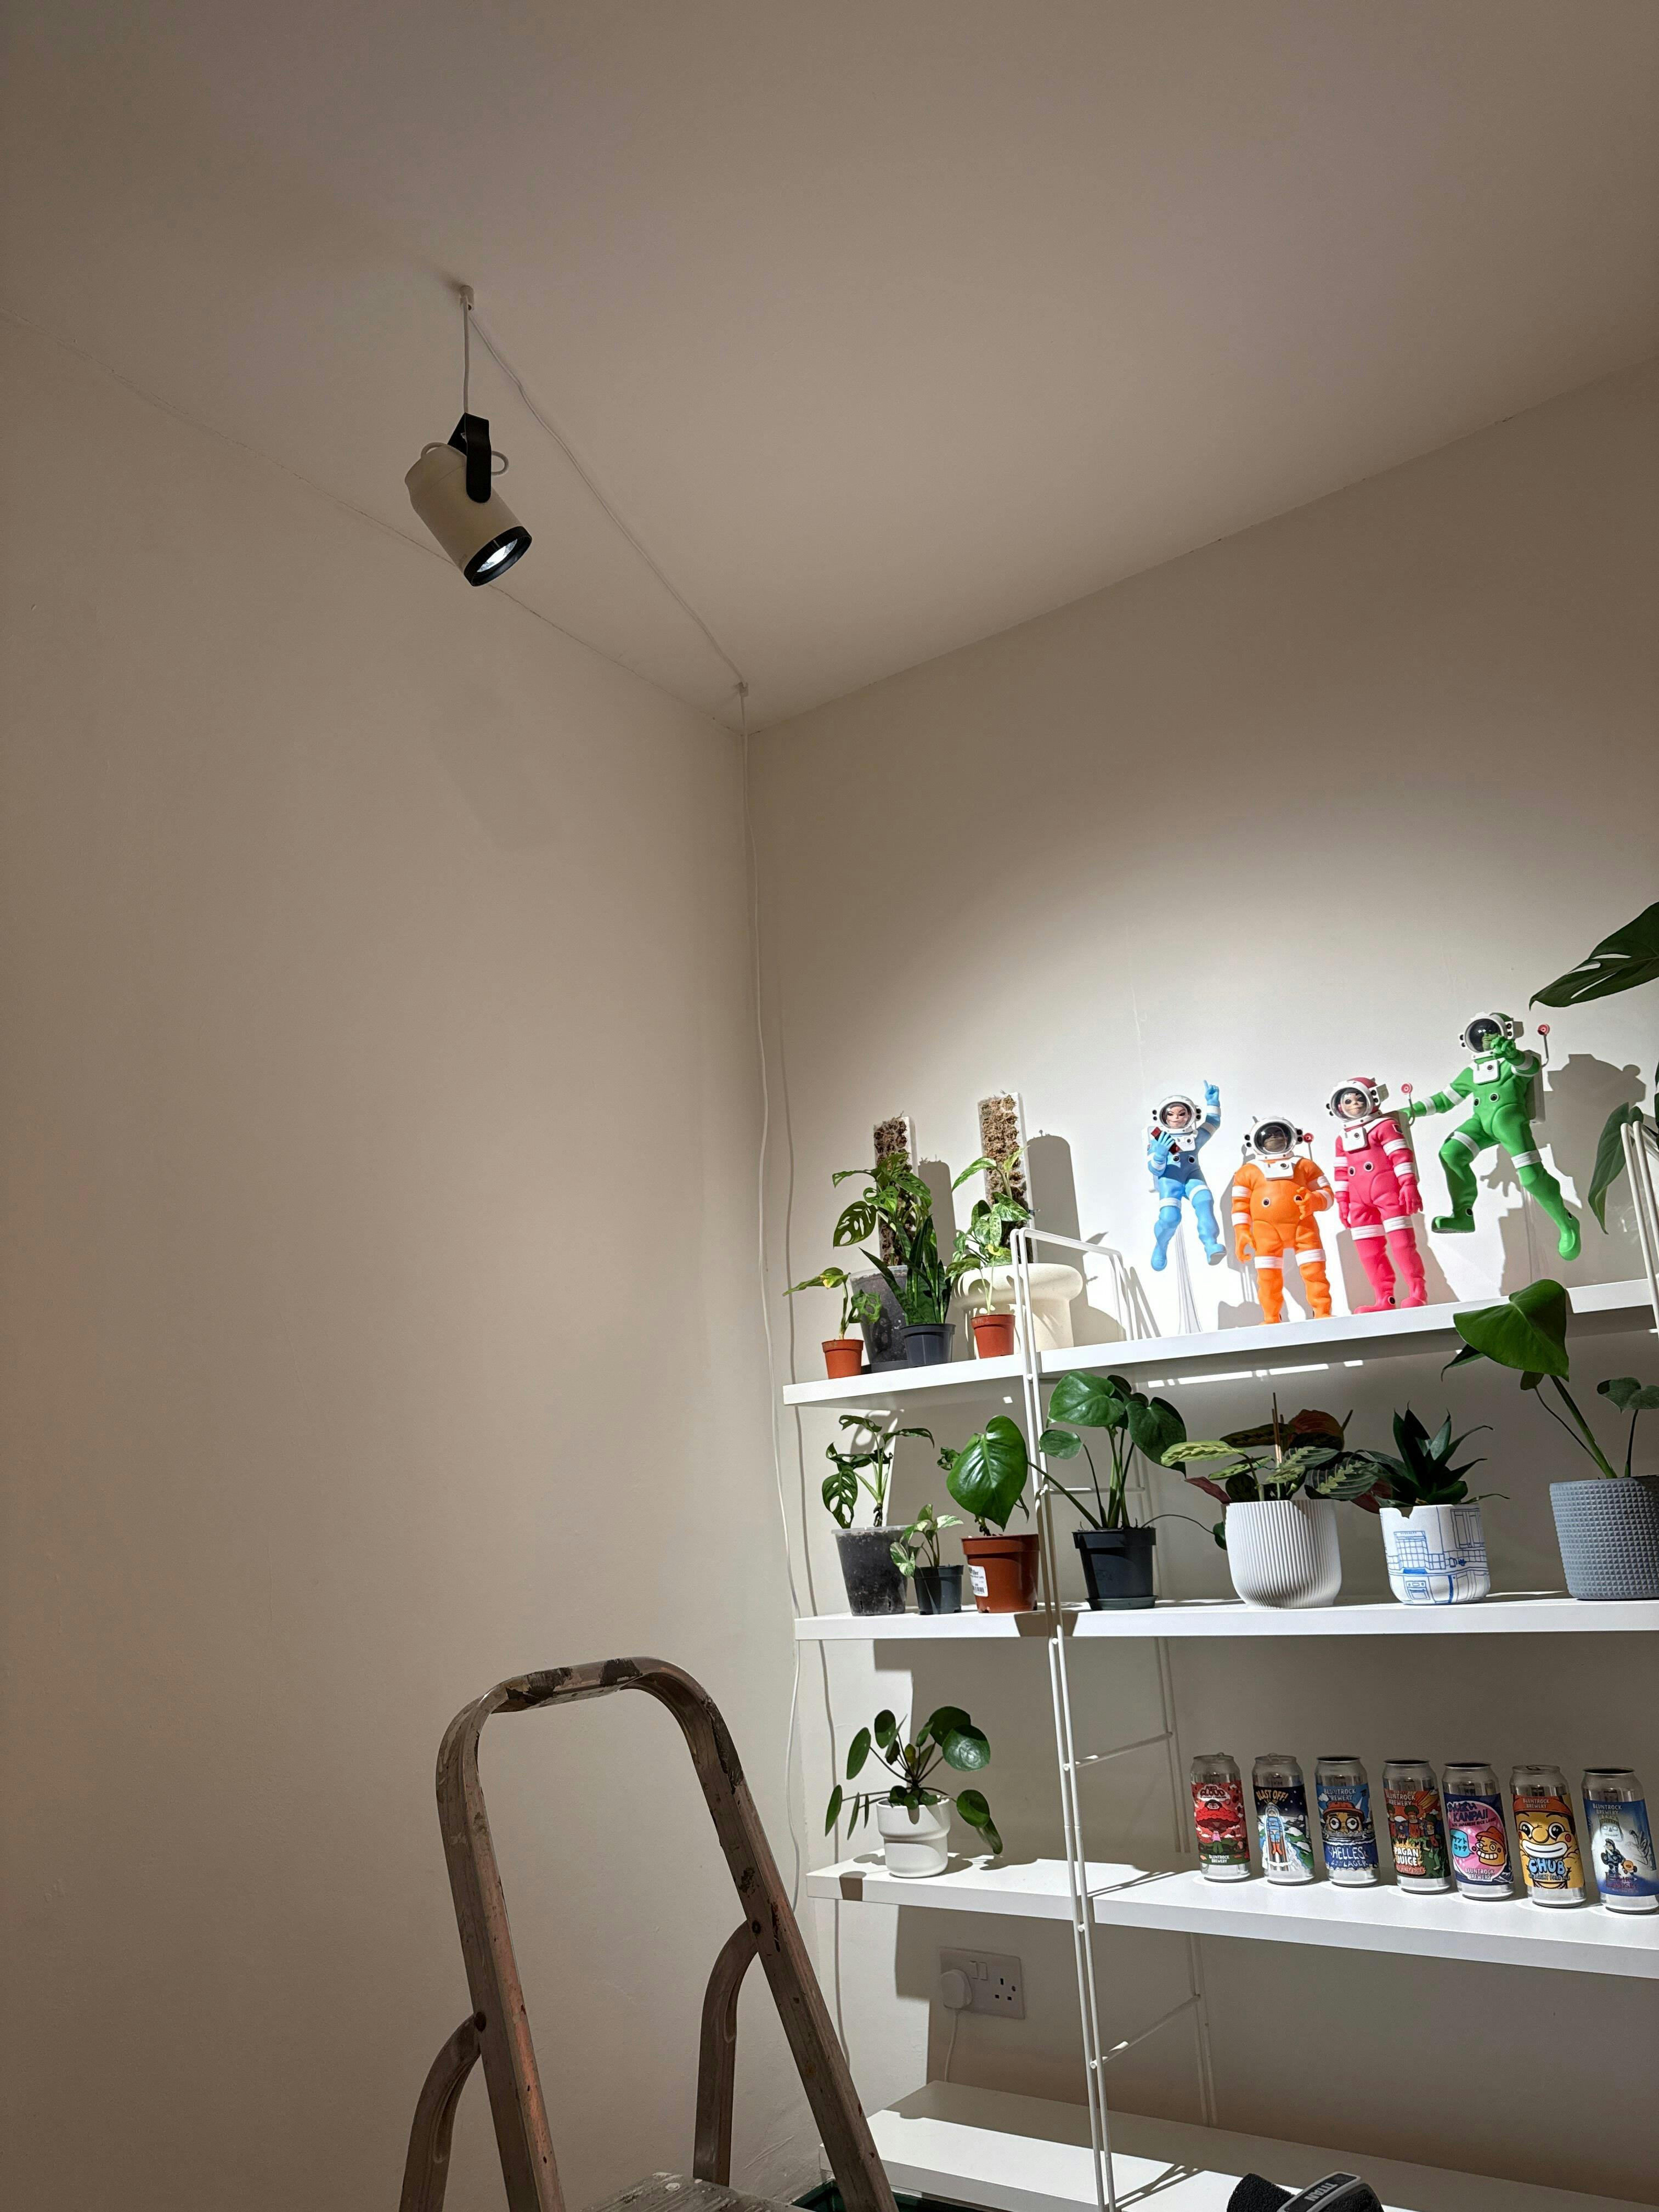
It arrived today perfect condition 👌 and immediately installed it!love the style and how easy it is to use, our sitting room is still on renovation but this one need is my top priority before my plants arrive 😅thankyou gathera amazing growlight⭐️⭐️⭐️⭐️⭐️
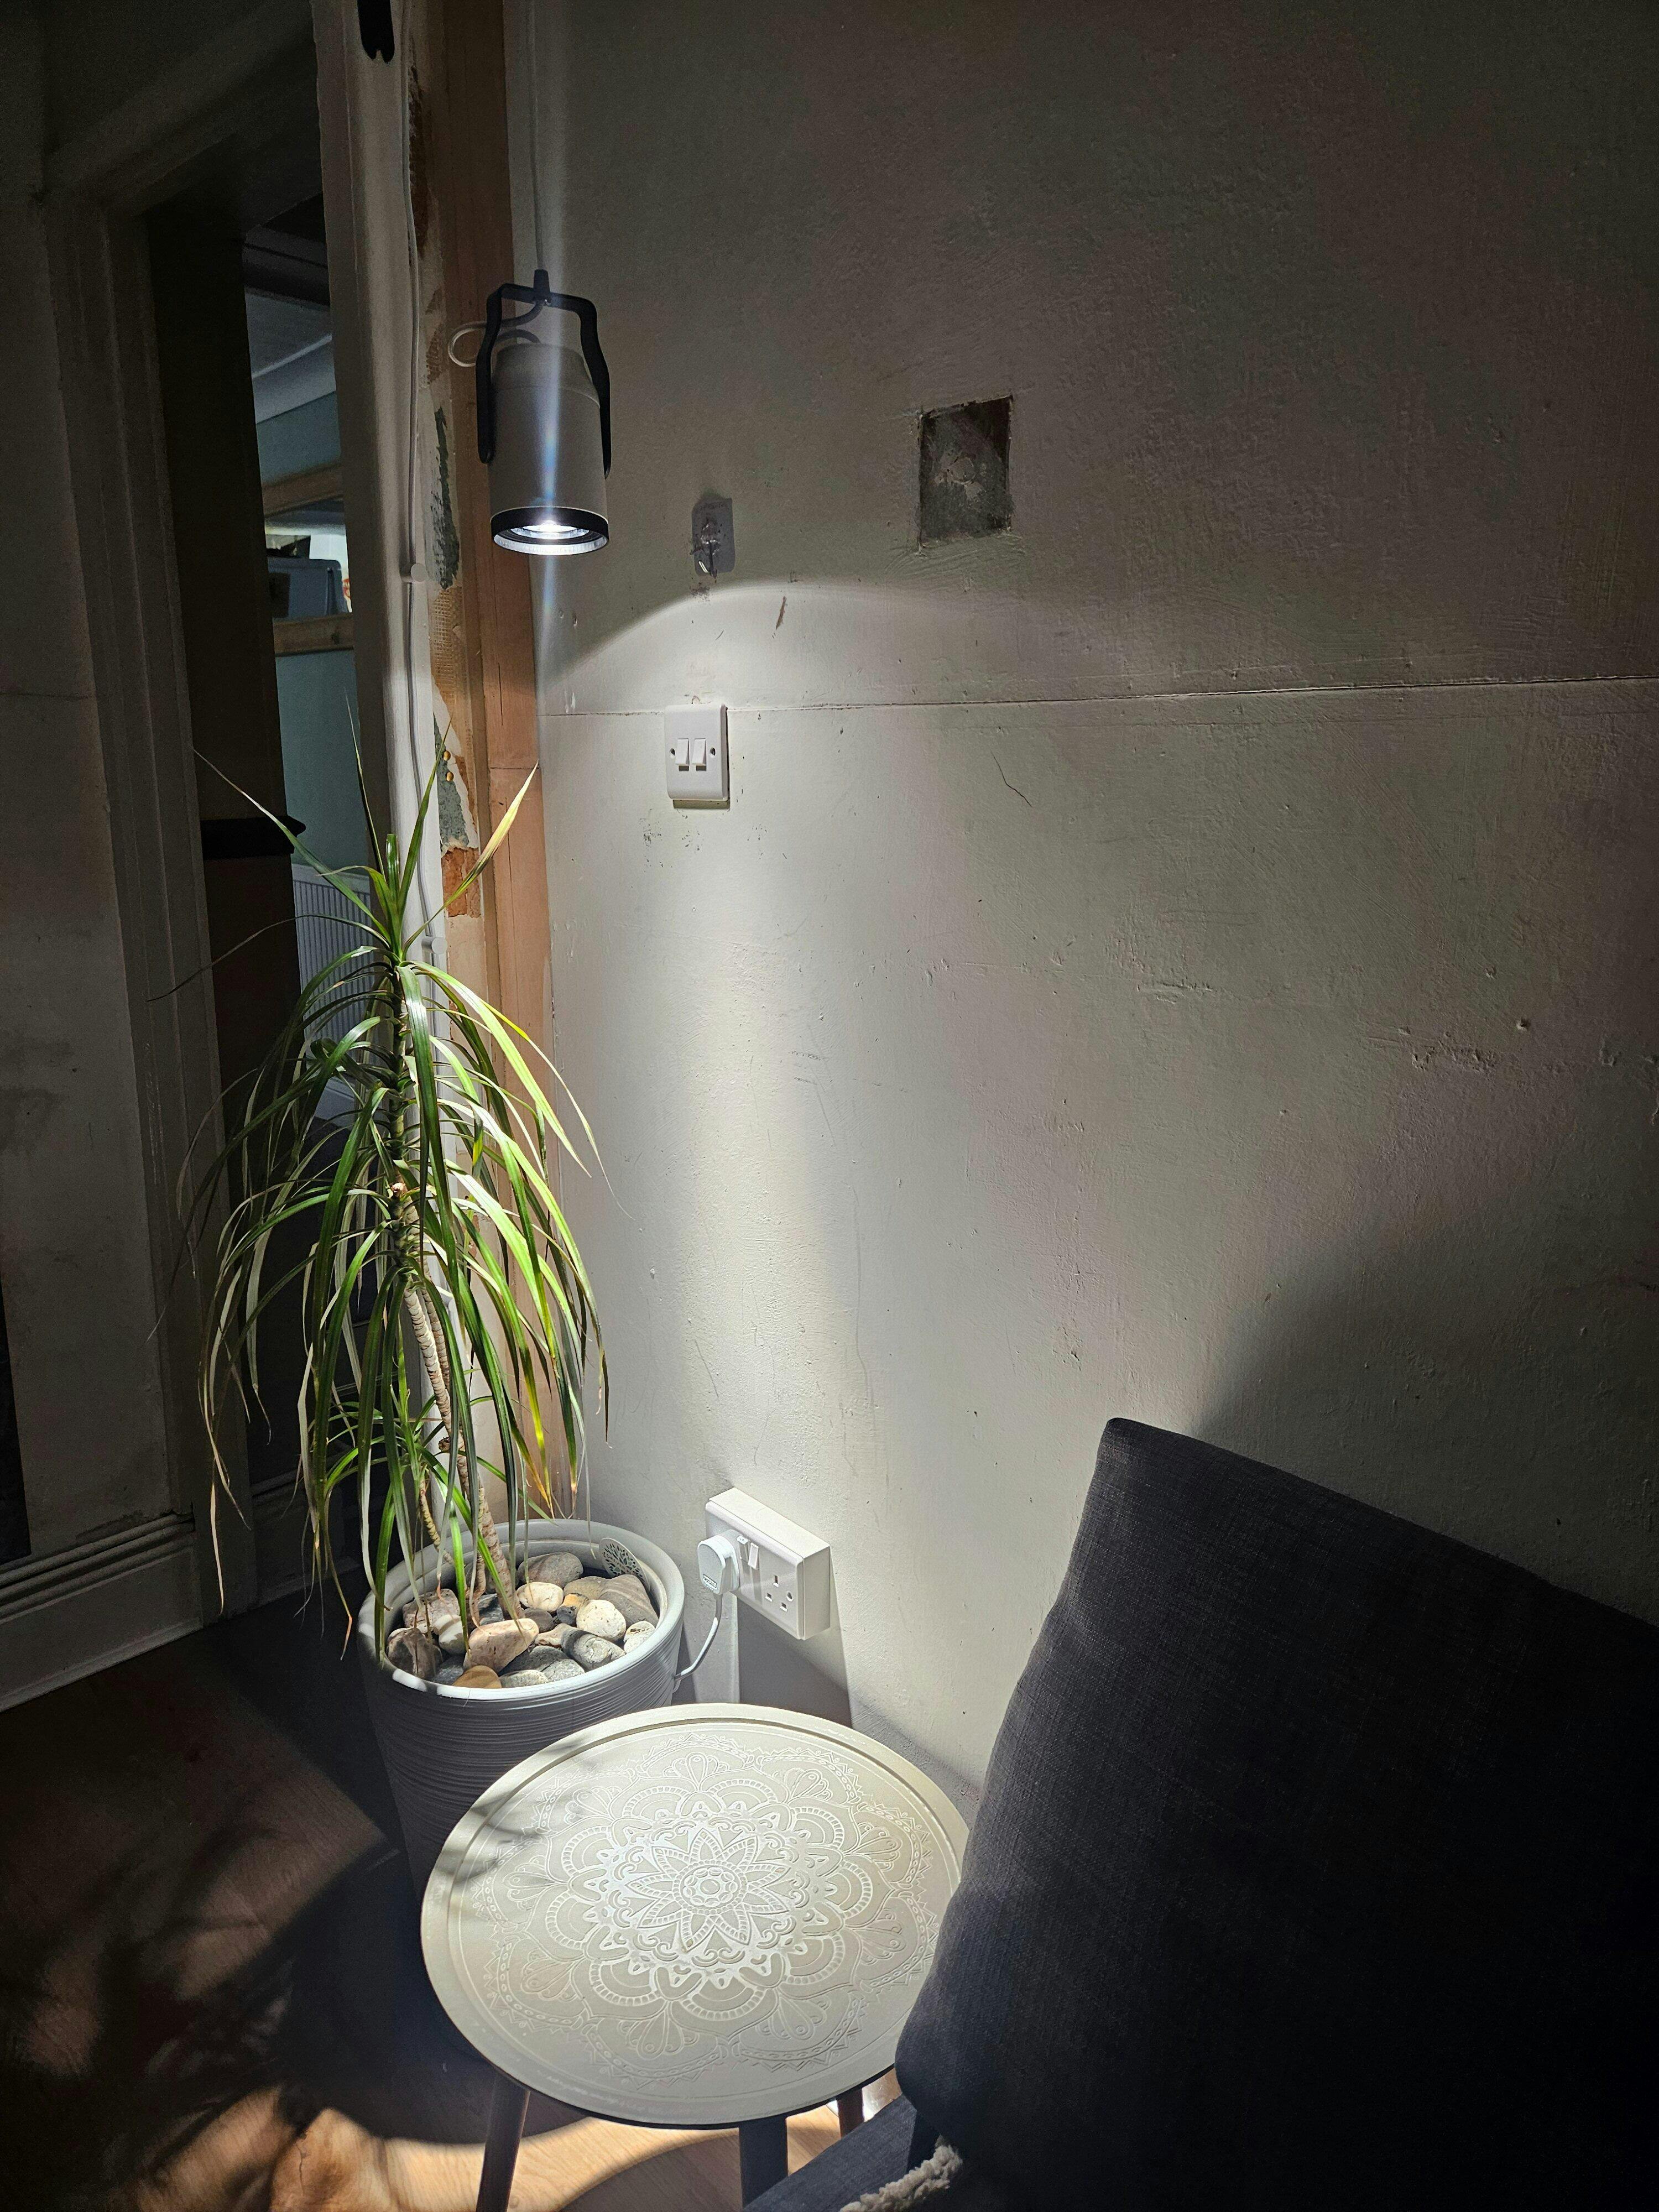
Thanks so much for the Review Bernadeth! We are so happy that you like the Sun Bulb.
Bought 2 units to fit on a different plant shelf. Followed your recommendation for an external power unit only to find that it is not compatible and will not fit.
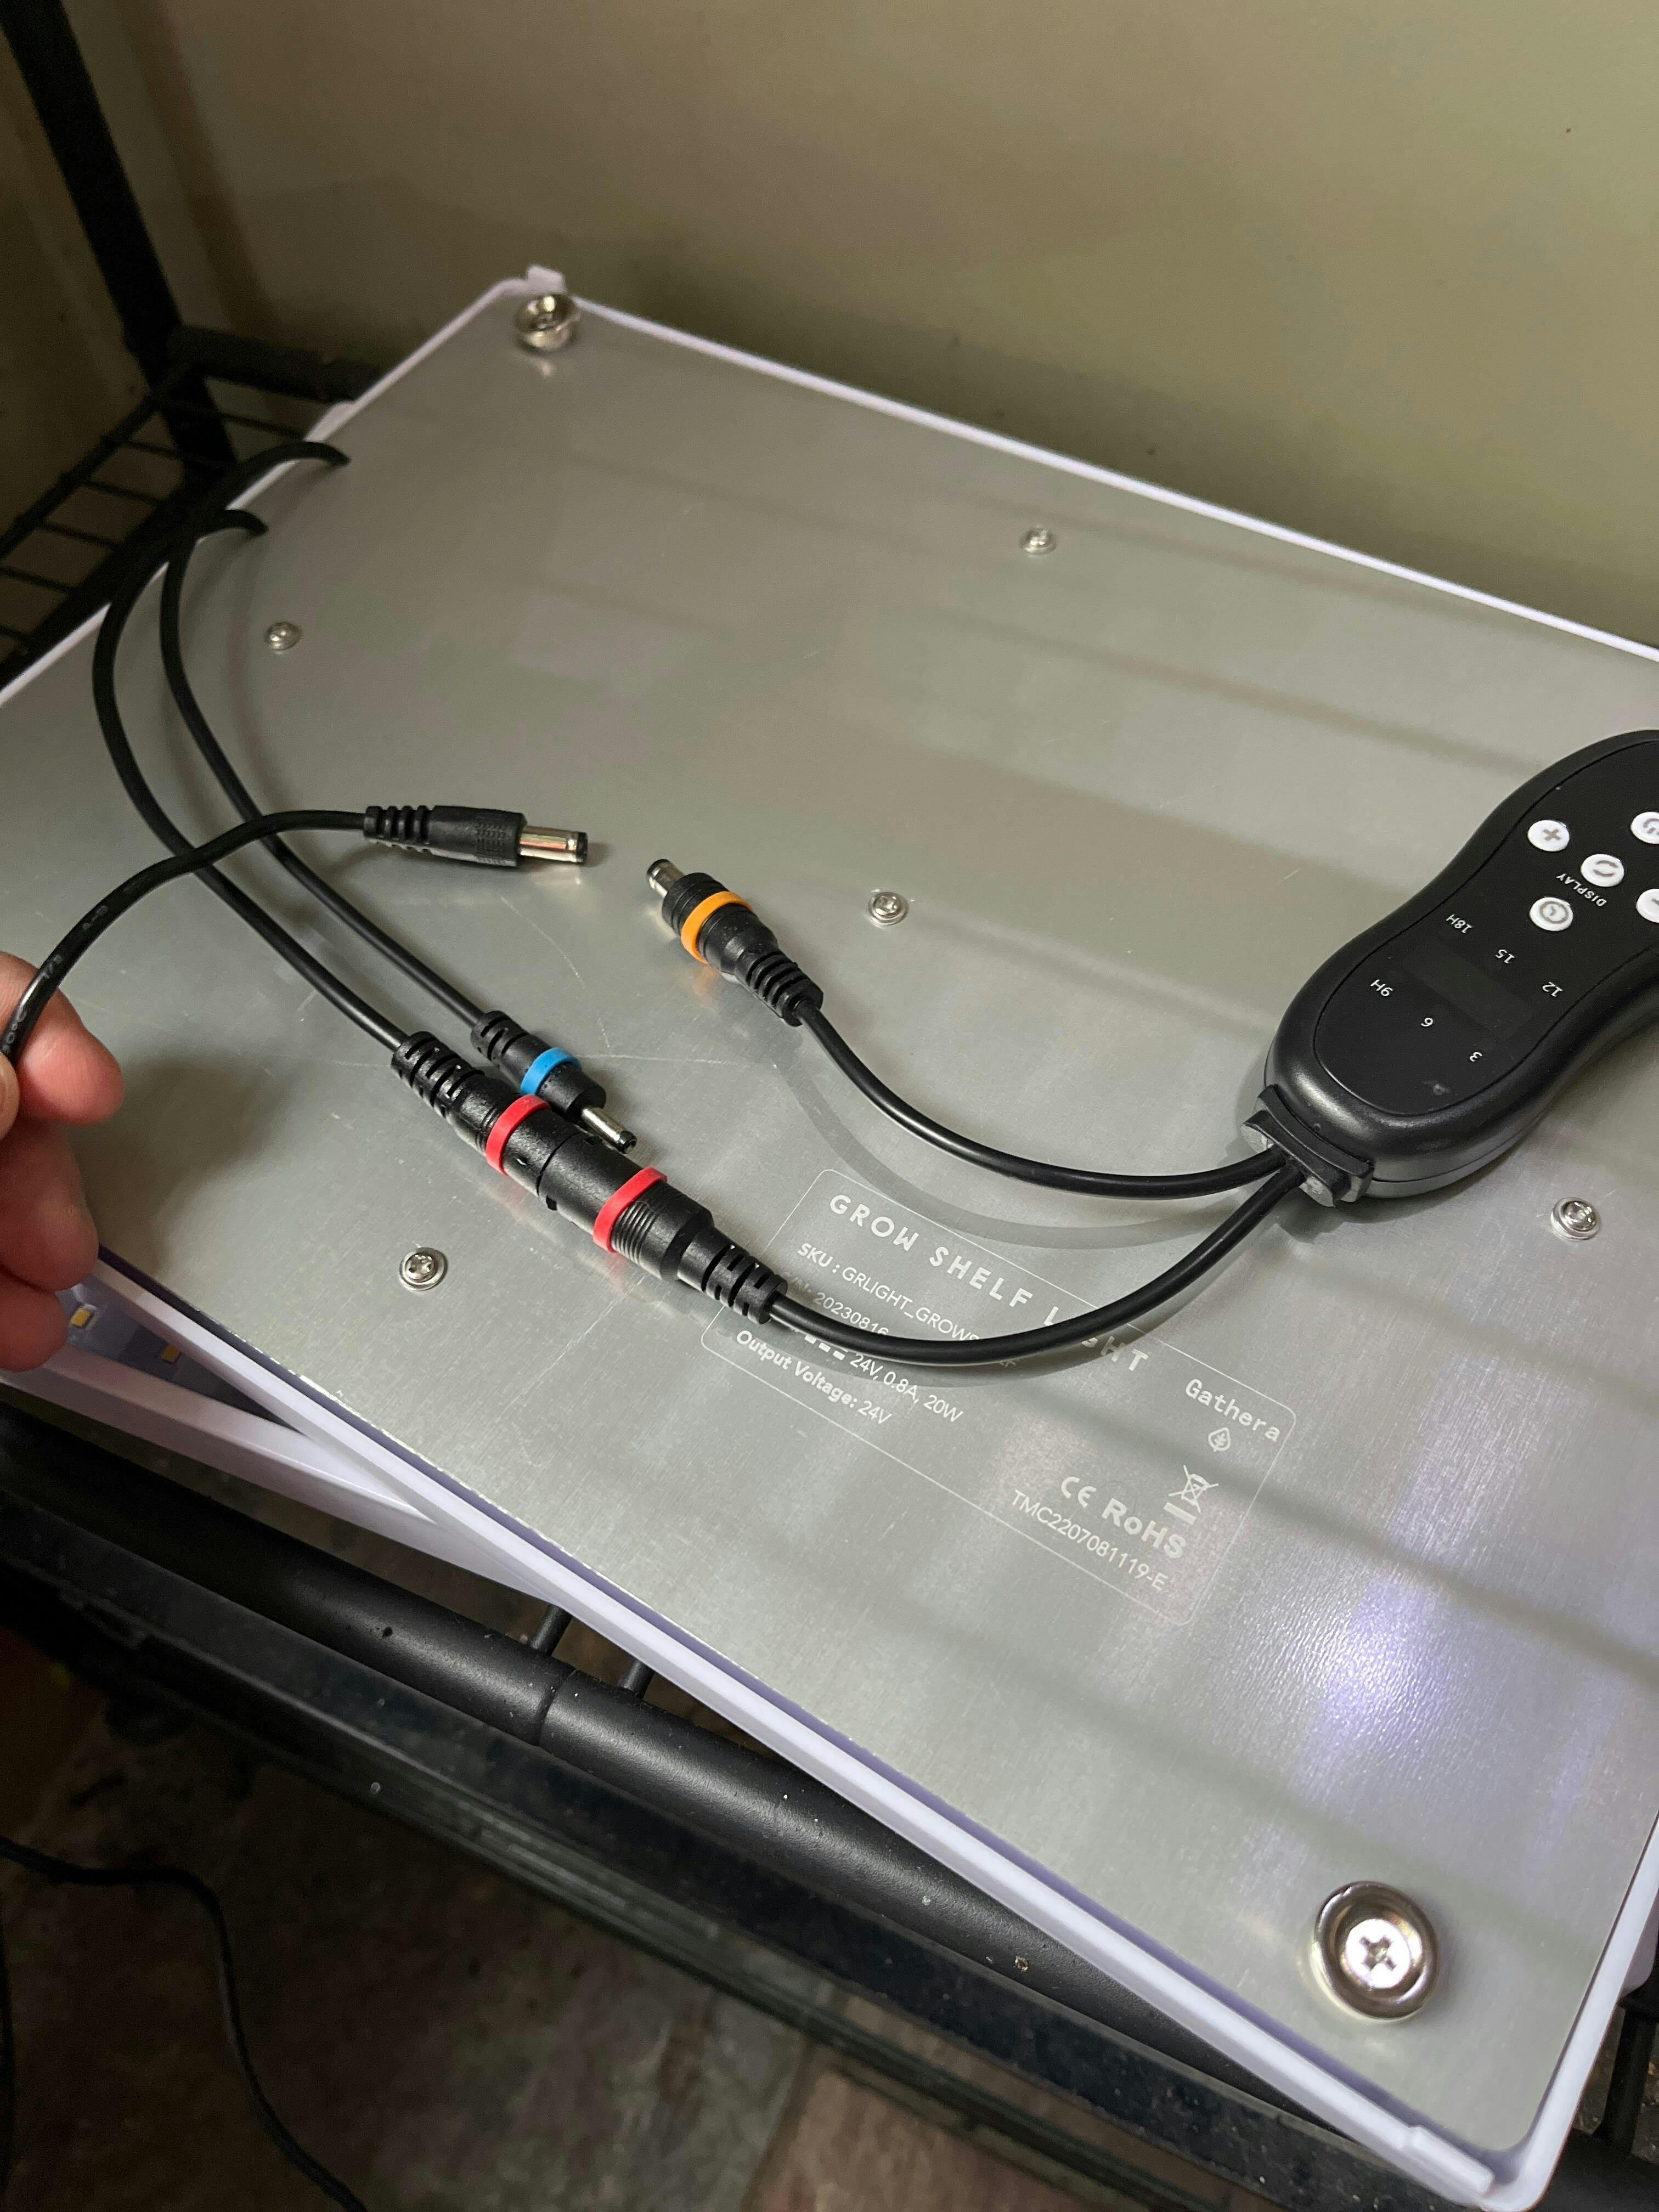
So Sorry about the 1 start review which is beyond our control.
Our website indicates that the Sun Shelf2 Light Panels can only be used with a existing Sun Shelf2 as the Sun Shelf2 Light Panels don't have cords to connect to any DIY Kits. The product page also says 'Expand Your Sun Shelf 2 with Additional LED Light Panels'
and indicates
If you already have a Sun Shelf, there’s no need for an additional power adapter. If you do not have a Sun Shelf - then you will need to purchase a 2amp, 24V power adaptor with a male plug with 2.1mm socket. These are readily available on the internet for affordable prices.
Upgrade your Sun Shelf with our LED Light Panels and provide your plants with the ideal lighting environment for healthy, lush growth!
*note these light panels are meant to be used with the sun shelf 2
If you do purchase a 2amp, 24V power adaptor with a male plug with 2.1mm socket the panels will work well
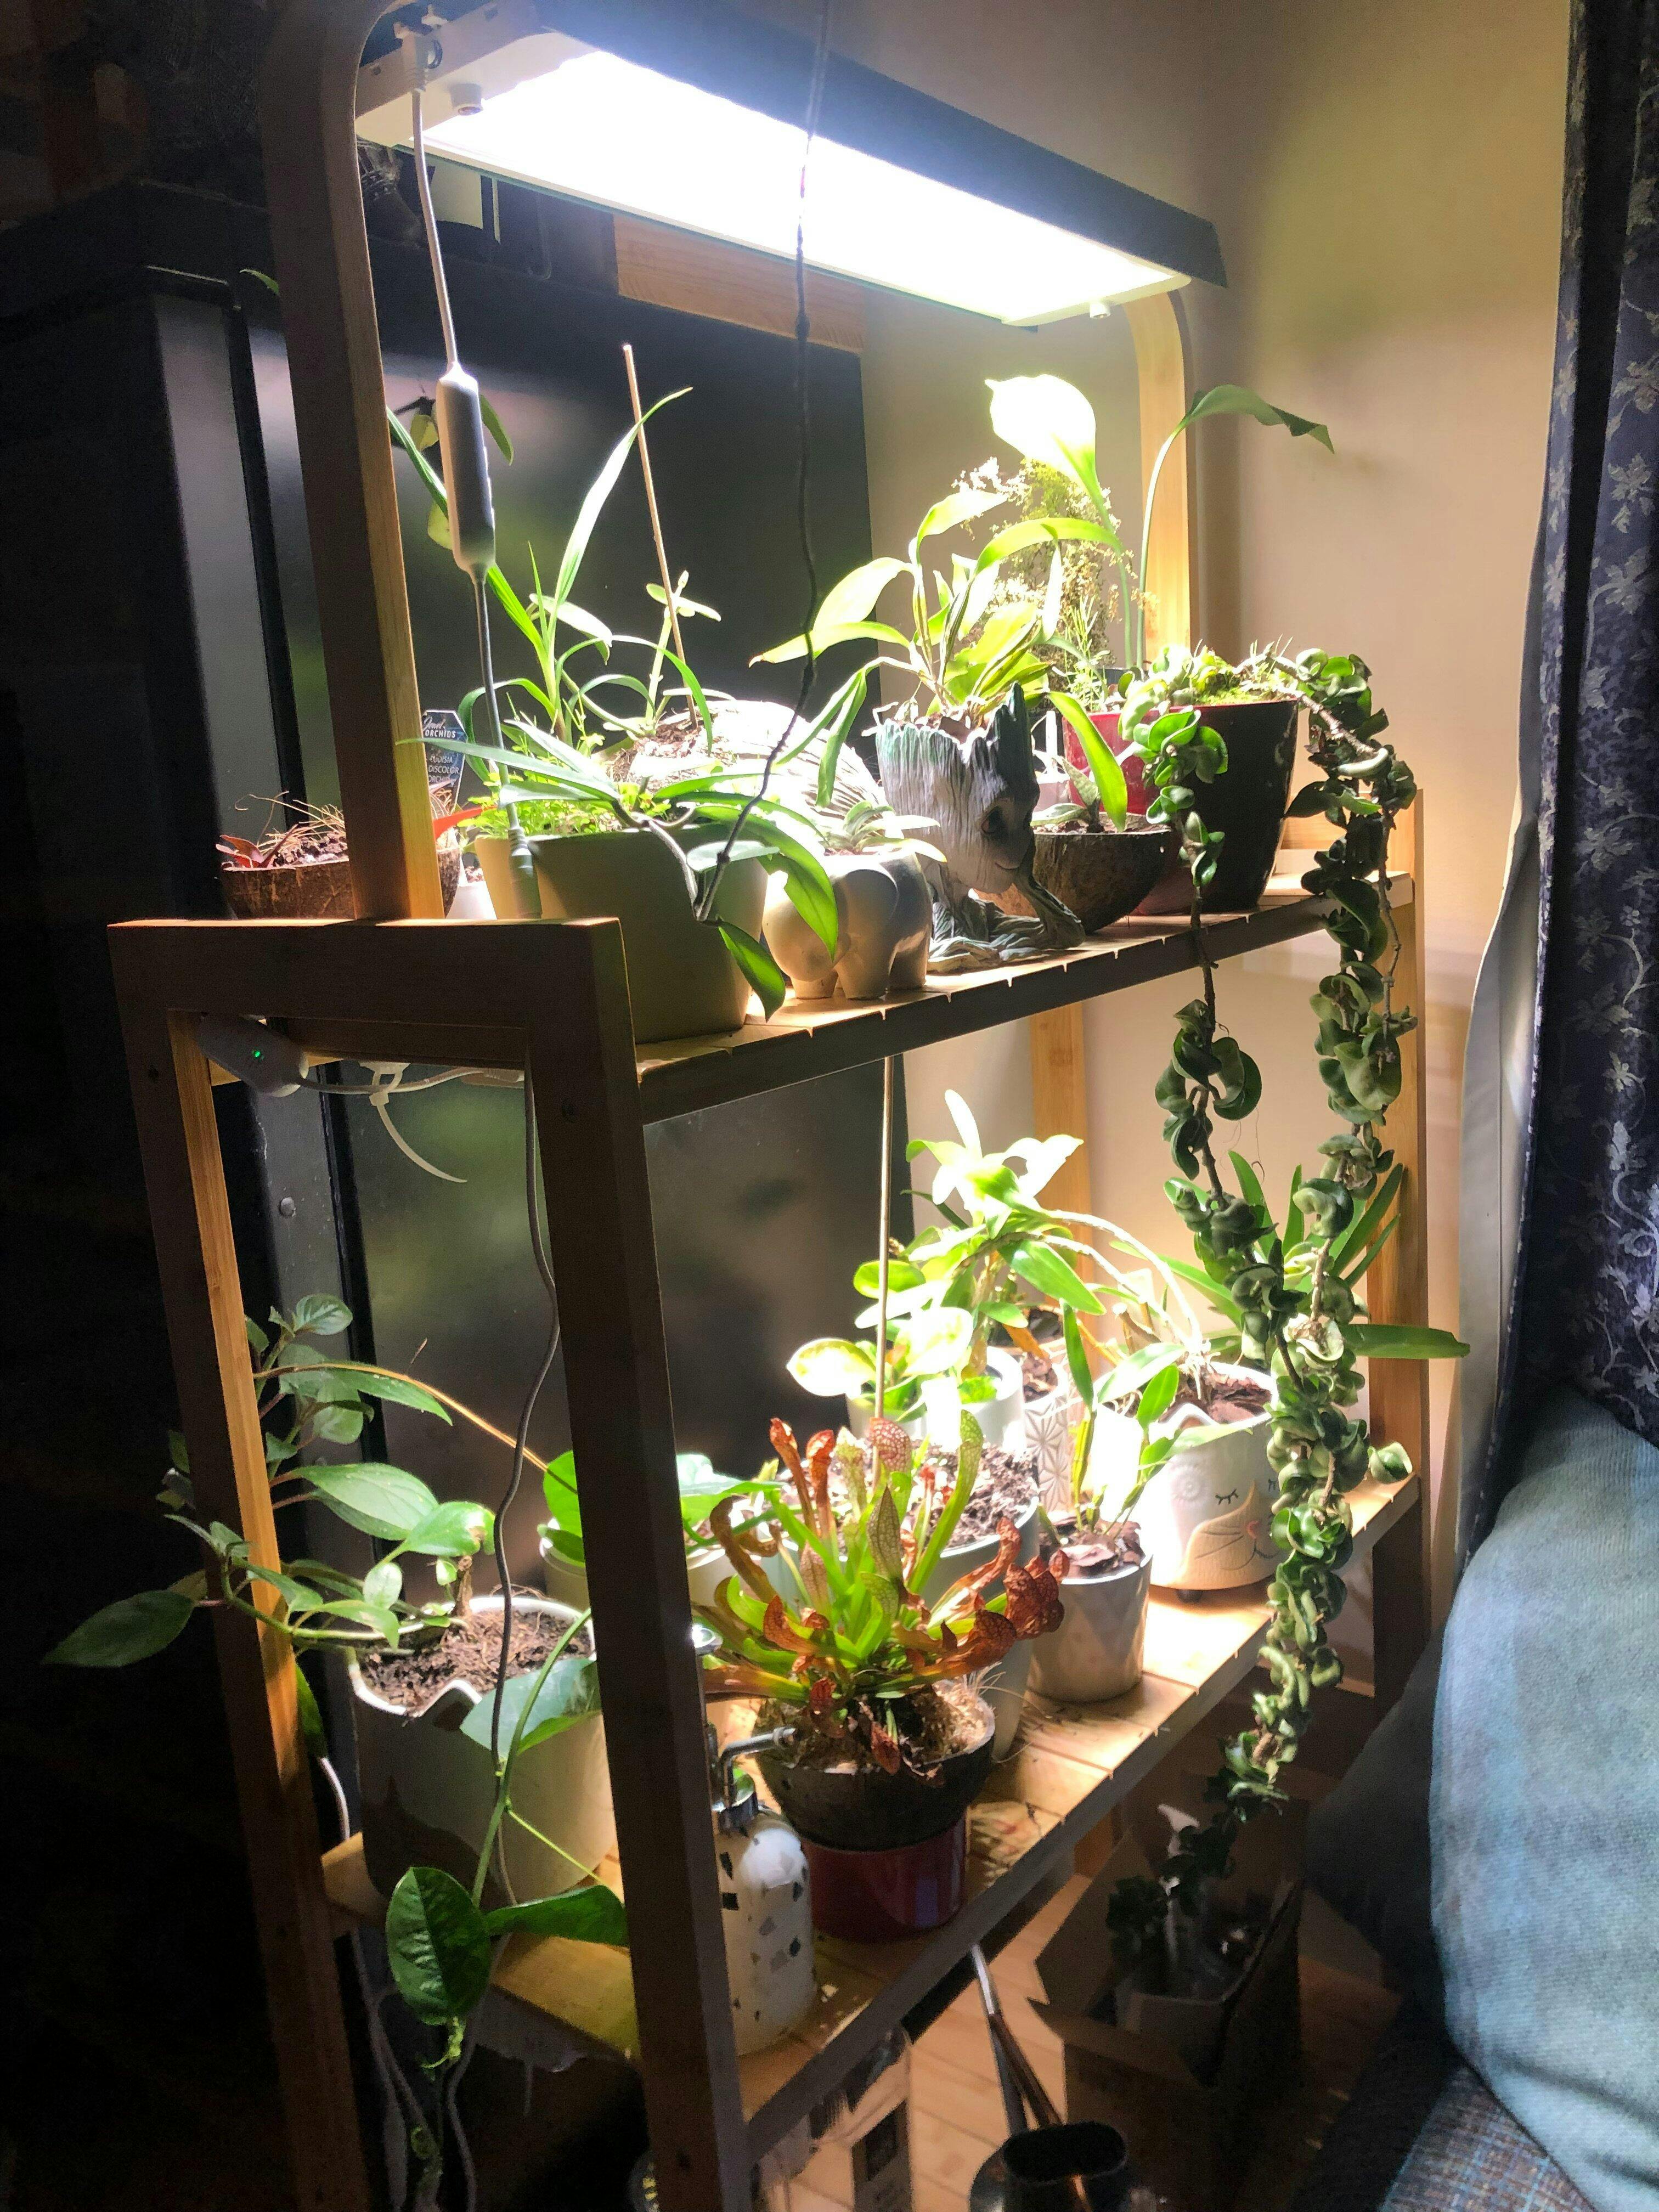
I have wanted one for ages and so glad I finally bought one. My plants are already happier. It is also a great feature and brightens up my dark living room. Its lovely to come downstairs in the morning when it’s dark outside and the living room is lit up like a little sun. Wakes you up and makes you feel happy!! (The tinsel on the photo was just for Christmas)

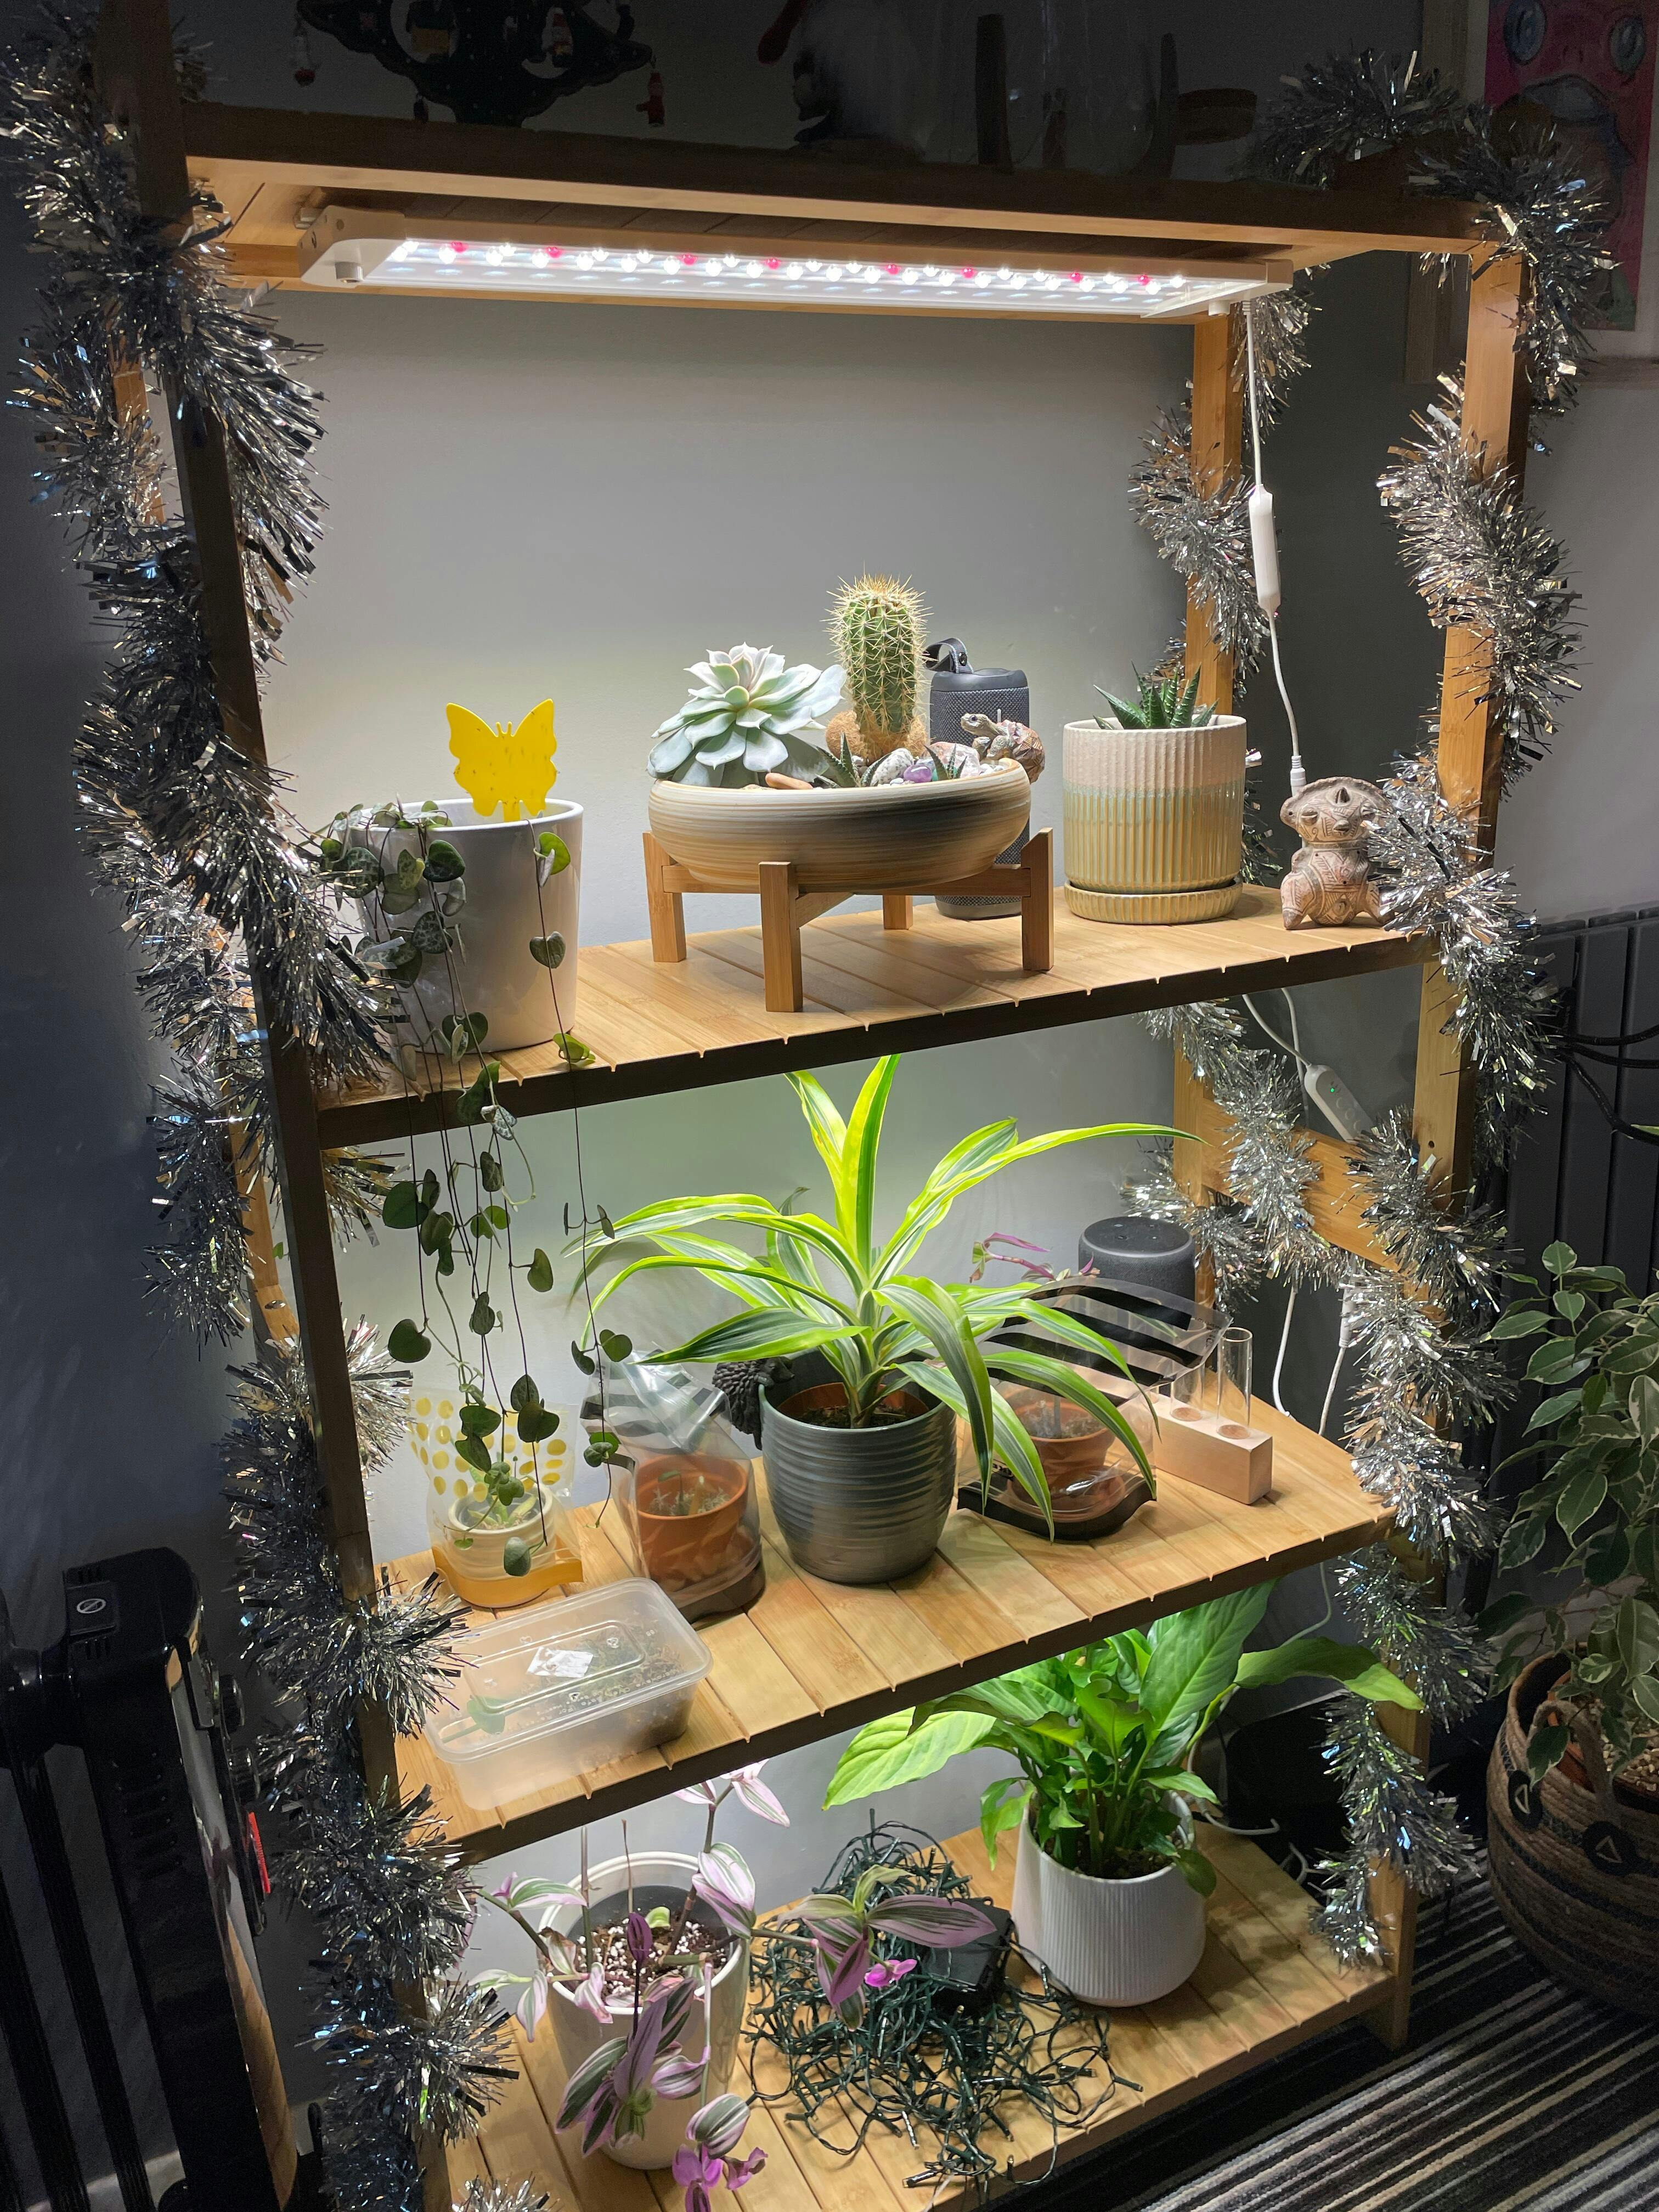
I would definitely recommend this light. I could tell from the weight of the light that it was good quality. I would buy it again.

thank you for the review Georgina
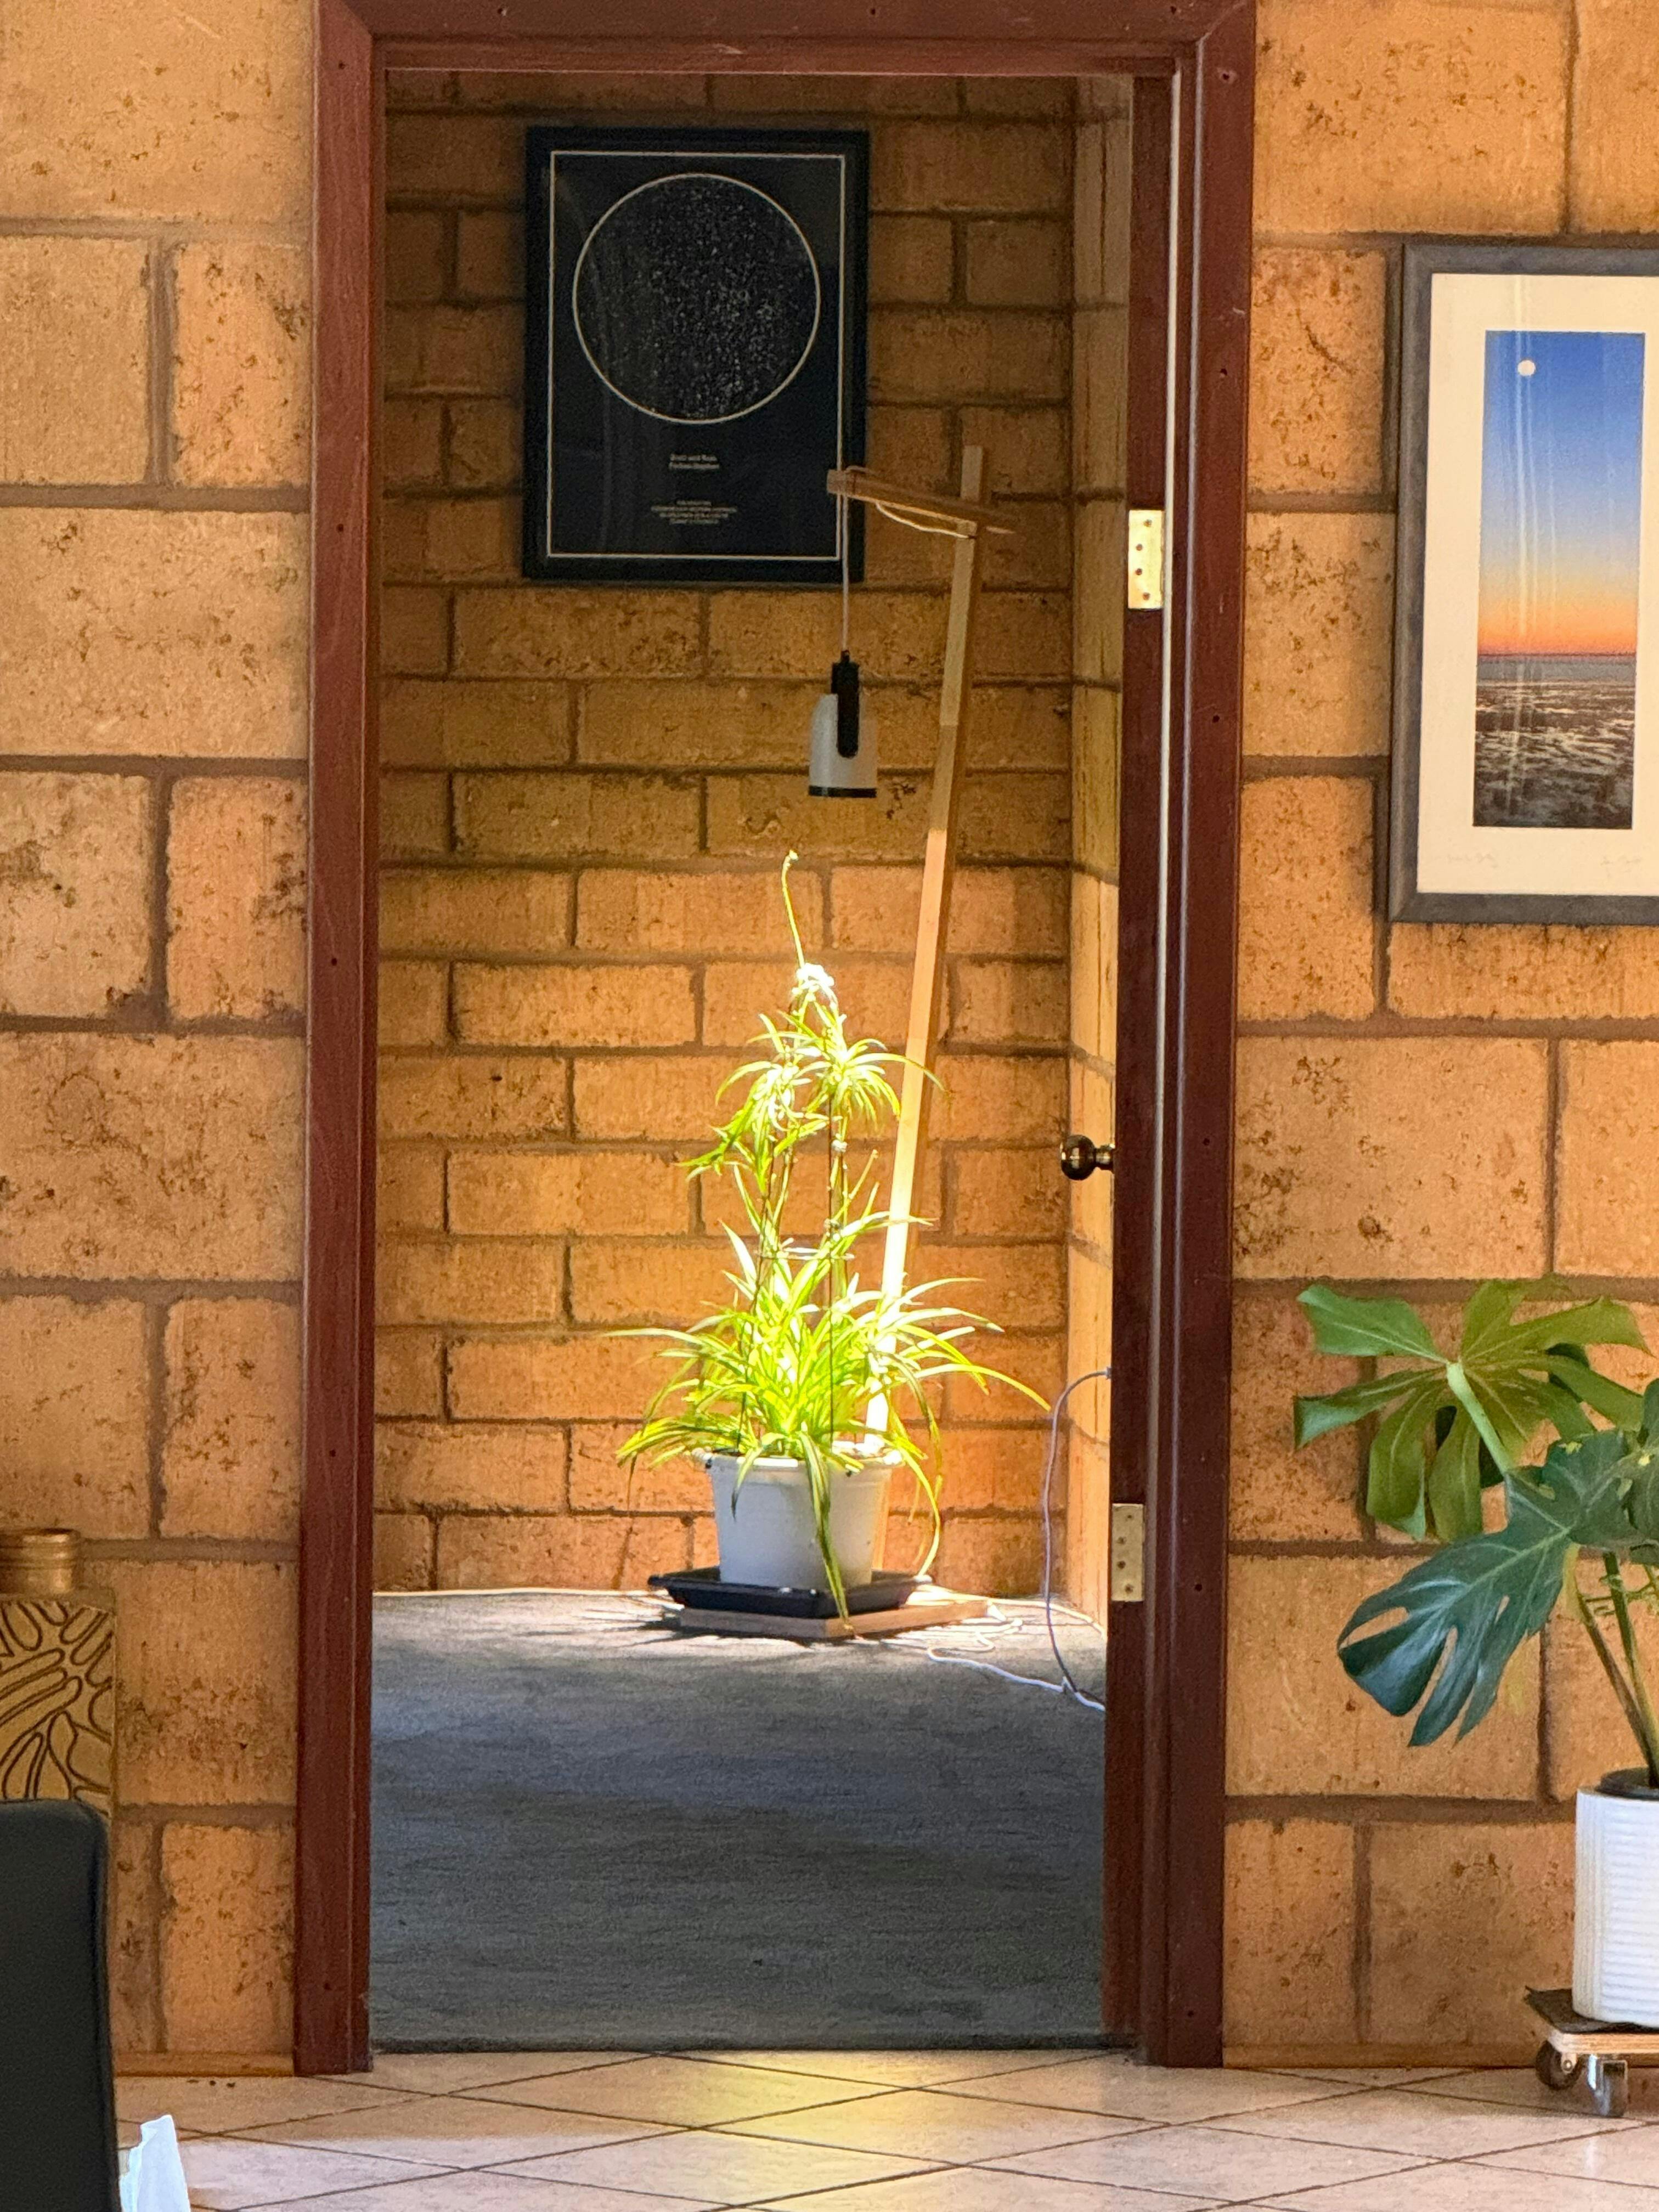
Really easy to put together, I wanted something that looked nice in my apartment and where I didn't have to affix lights to a beam or similar. One thing I wish is that it was a bit taller so that I could get 30cm clearance to avoid burning my plants, but its lightweight and easy to place on some books or similar.
Awesome and thank you for the review
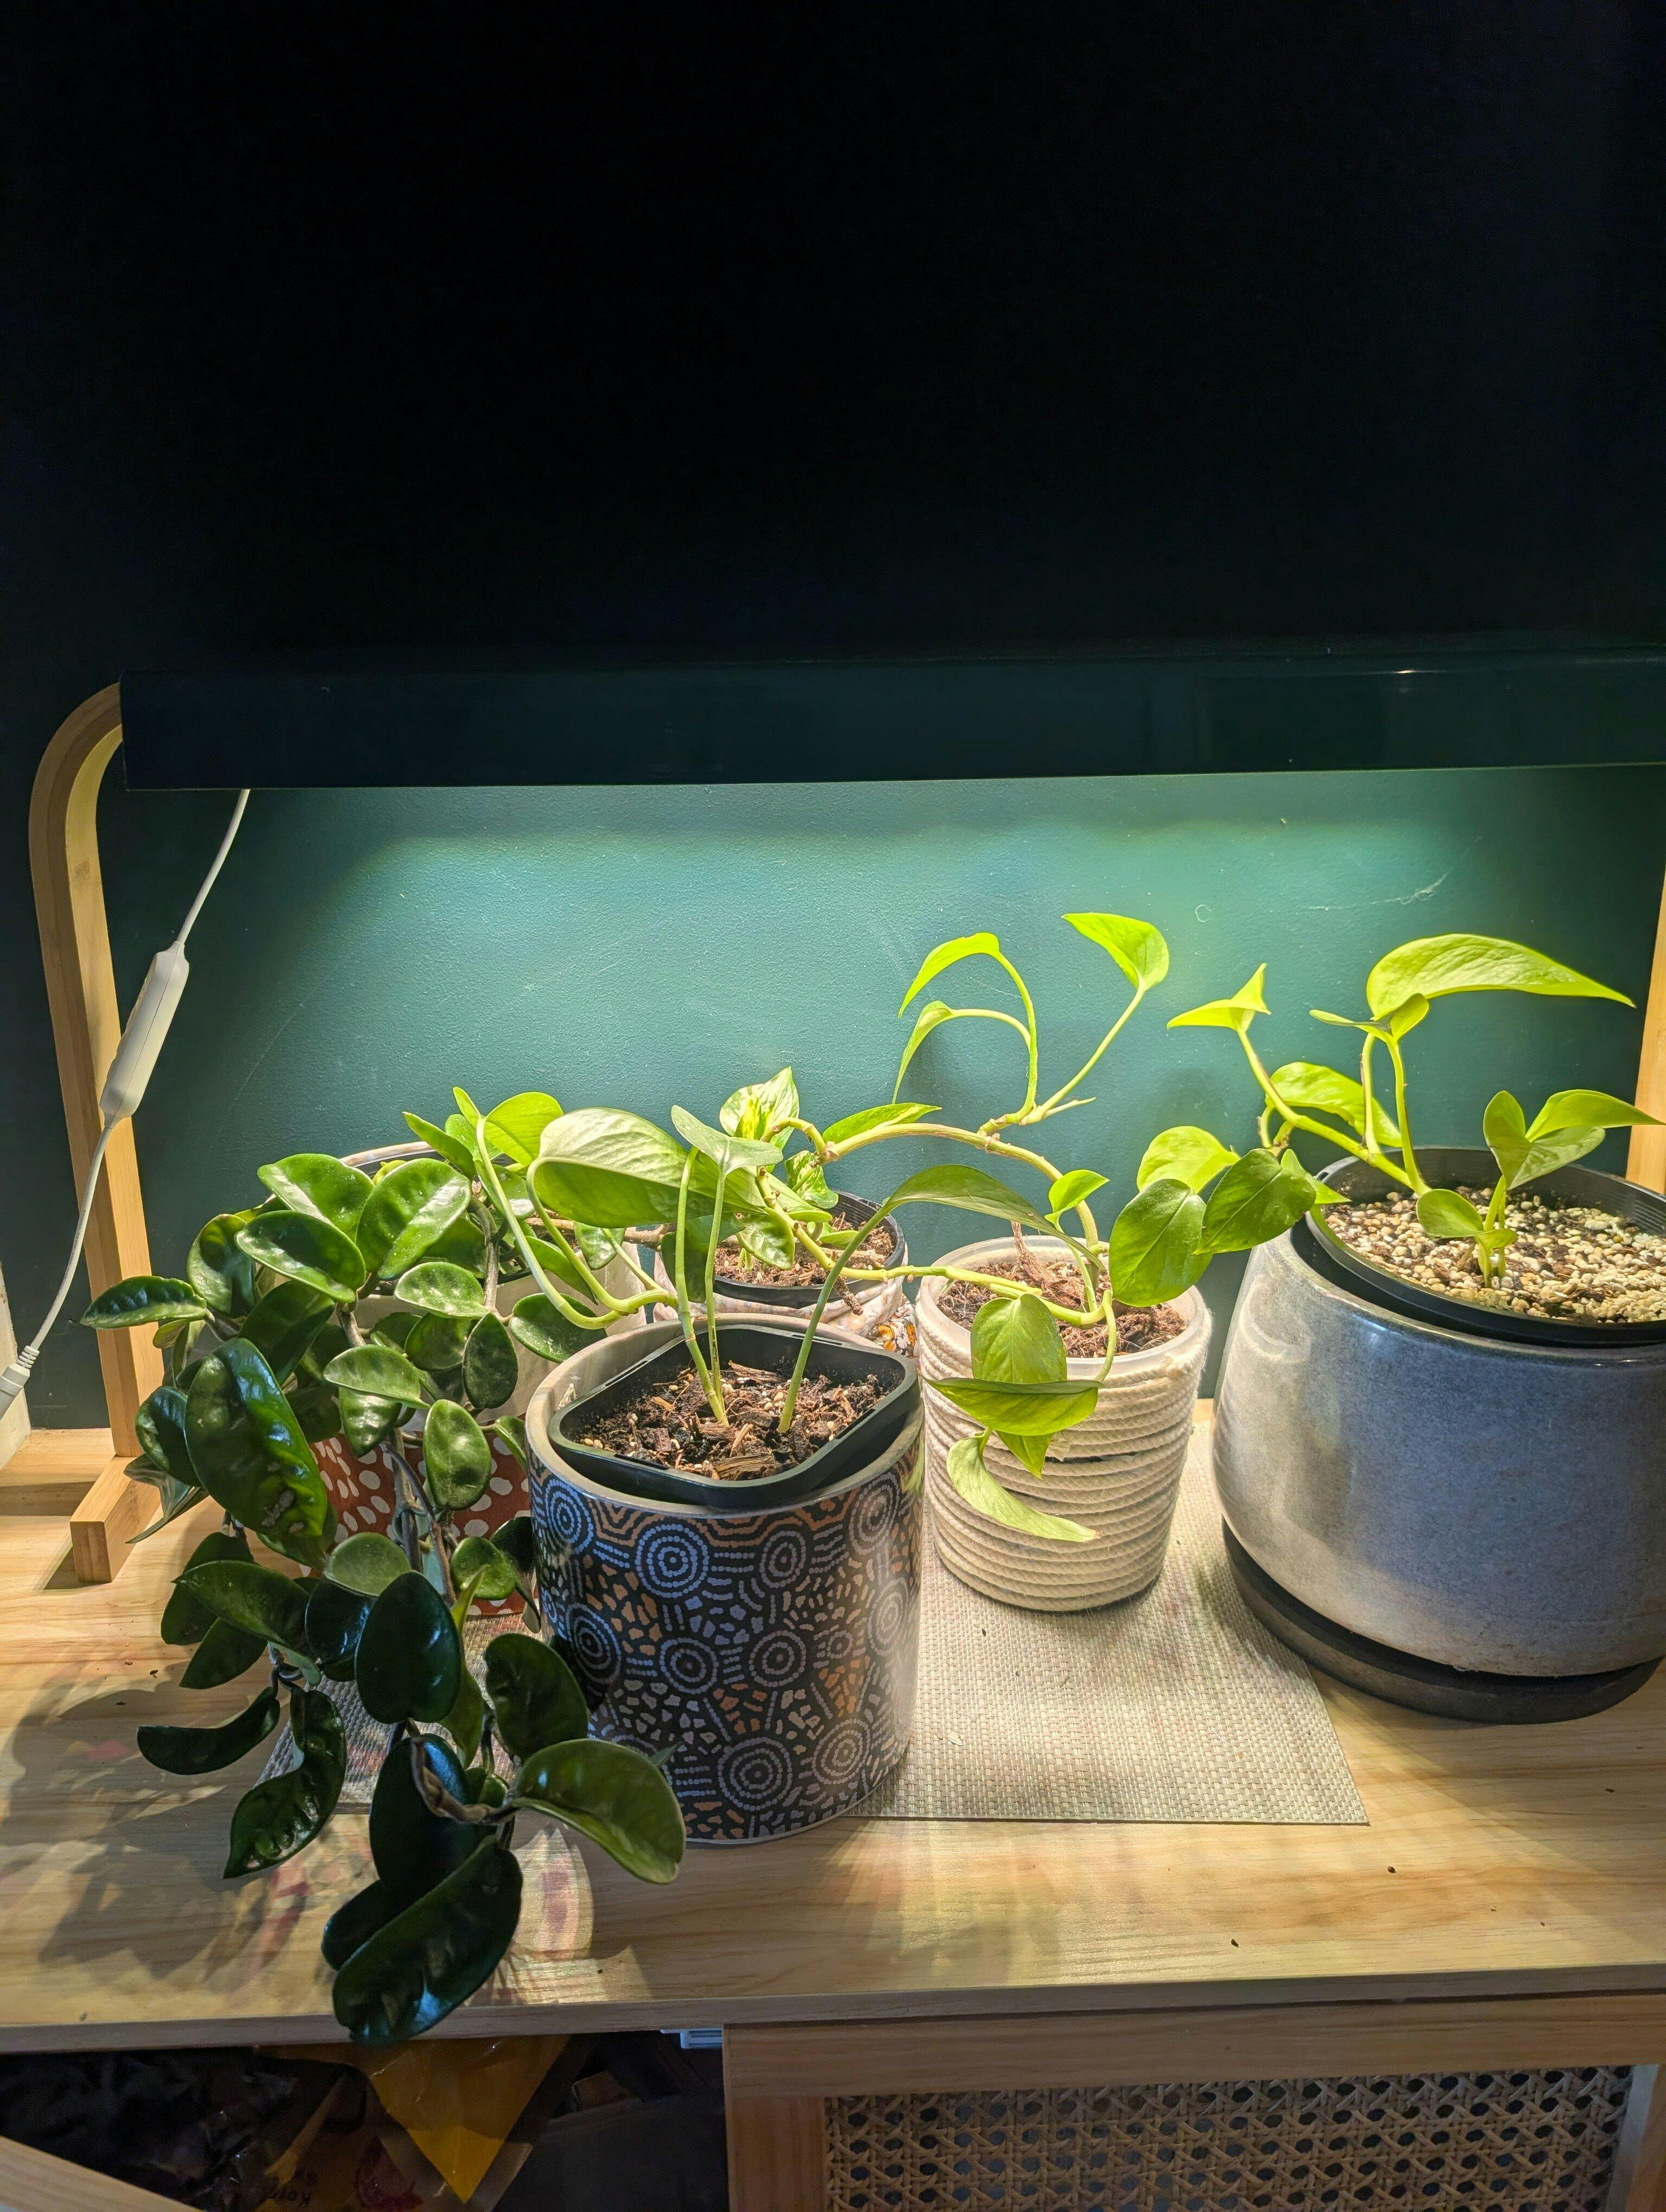
Fast delivery and easy to assemble. We put this in our bedroom and the plant is loving the light.
I have tried everything on my bathroom wall tiles to grow my little Golden Pothos upwards, nothing sticks literally! Until I found these little leaf shape miracles!! They have like a clear sticky backing which sticks perfectly to my tilled bathroom wall, easy to install like super easy, and my Golden Pothos is now thriving and striving upwards, I’m going to need more leaf shape clips the way it is now growing. The vision I had for my bathroom wall is now starting to become a reality!!!

Glad these have been such a great help, thanks for shopping with Gathera!
The different lighting options and timer are useful, however the arms don’t want to stay where moved if you change your mind about configuration after the first position. They become droopy and uncooperative.